GEOFENCING
.
.
.
Geofence
Geo-fencing (geofencing) is a feature in a software program that uses the global positioning system (GPS) or radio frequency identification (RFID) to define geographical boundaries.
Geo-fencing allow an administrator to set up triggers so when a device enters (or exits) the boundaries defined by the administrator, an alert is issued. Many geo-fencing applications incorporate Google Earth, allowing administrators to define boundaries on top of a satelliteview of a specific geographical area. Other applications define boundaries by longitude and latitude or through user-created and Web-based maps.
Geofence virtual barriers can be active or passive. Active geofences require an end user to opt-in to location services and a mobile app to be open. Passive geofences are always on; they rely on Wi-Fi and cellular data instead of GPS or RFID and work in the background.
GETTING STARTED
Login To Your Account!
STEP 1
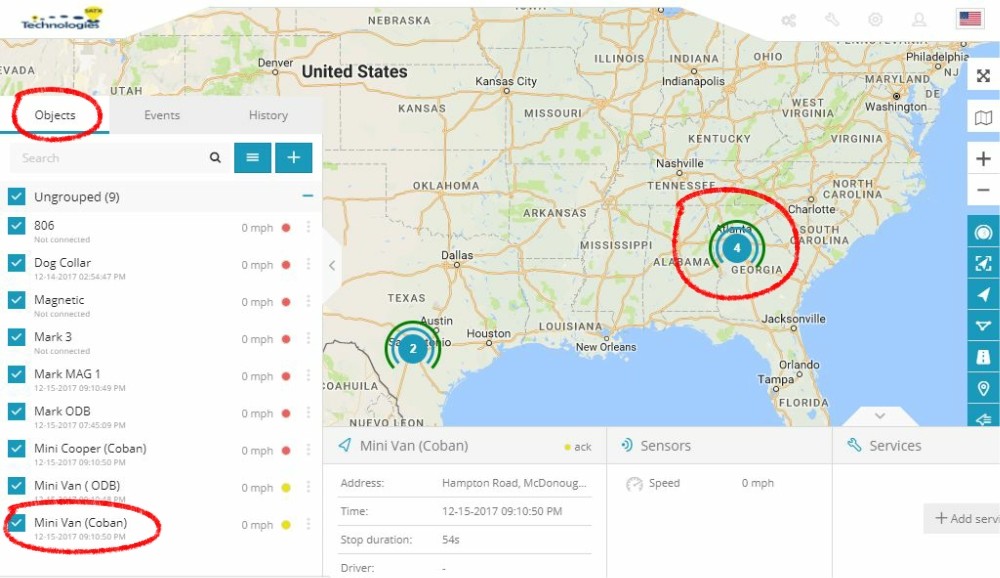
Click On The Object You Would Like To Track.
STEP 2
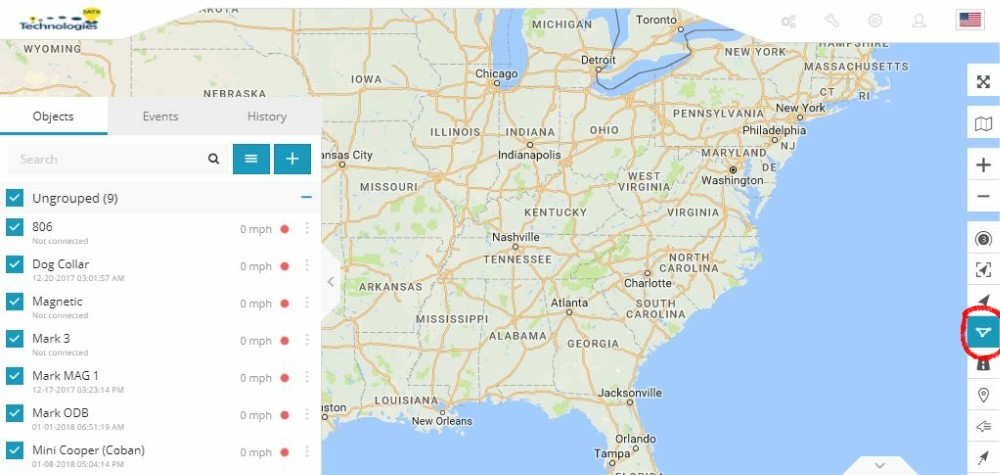
Click On The Geofences Tab On The Right Till It Turns Blue.
STEP 3
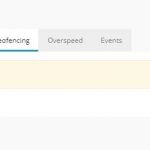
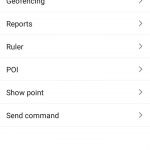
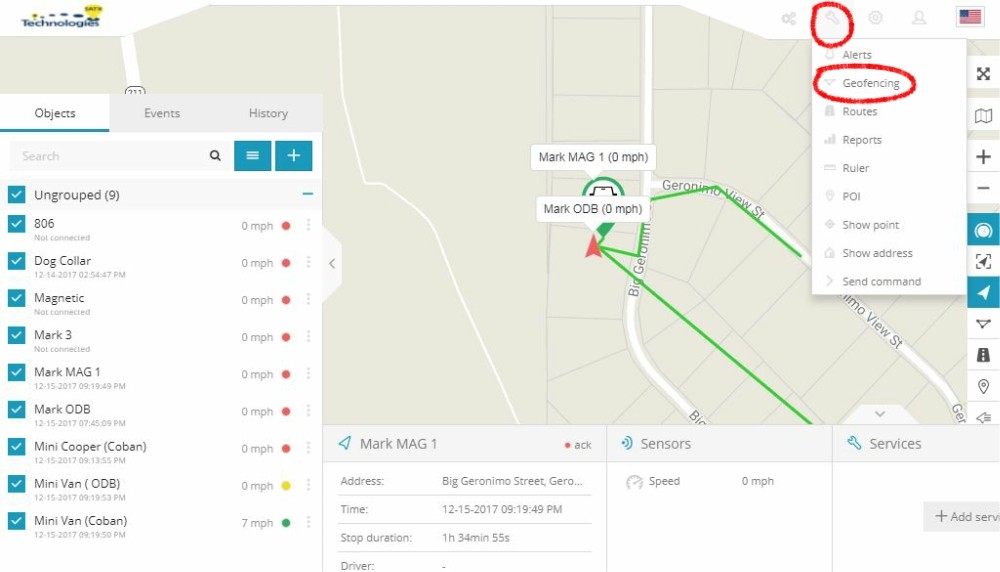
Click On Tools, Then Click Geofencing.
STEP 4
Click On Click On The Plus Icon Or Select A Geofence On The Left To Enable The Geofencing Tool.
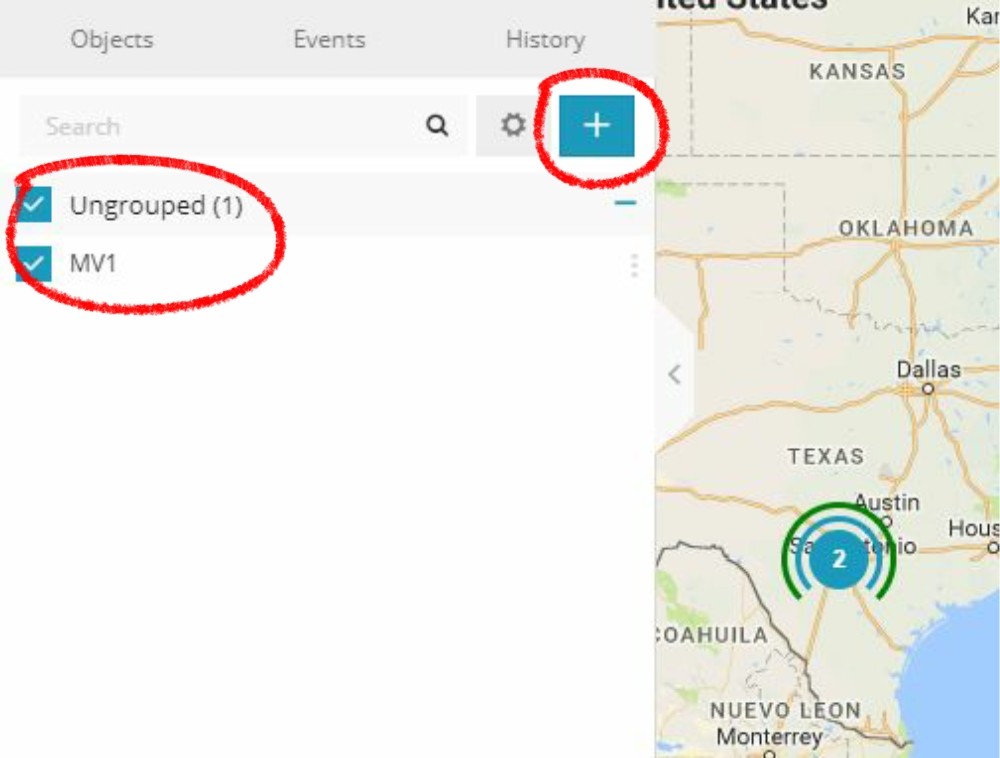
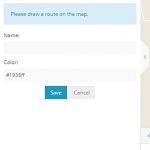
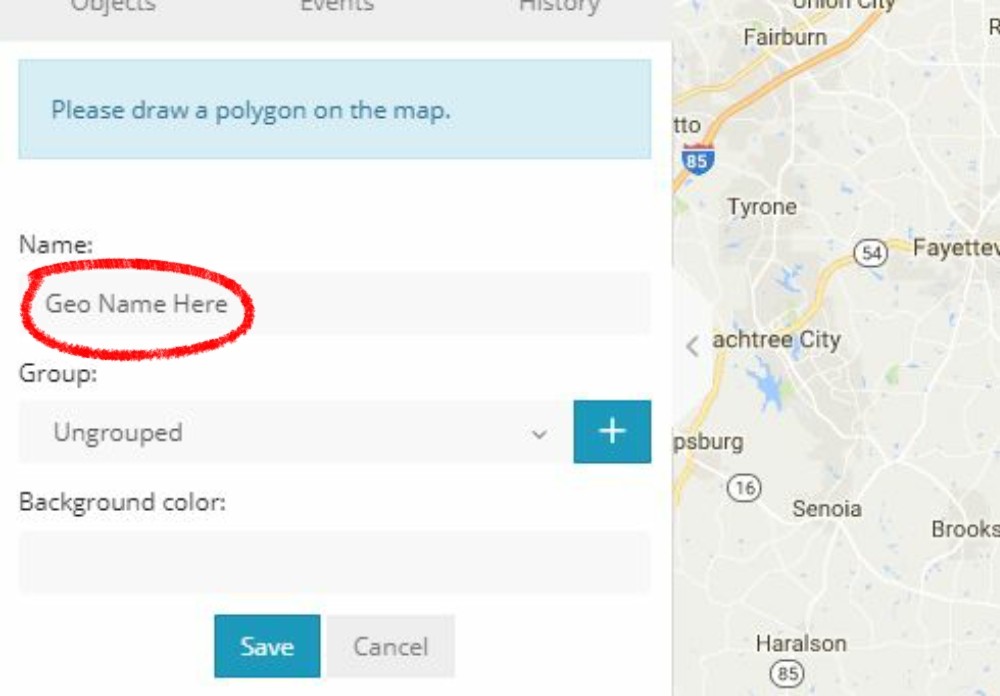
For A New Geofence Enter A Name Of What You Will Call The Geofence. Then Click Save
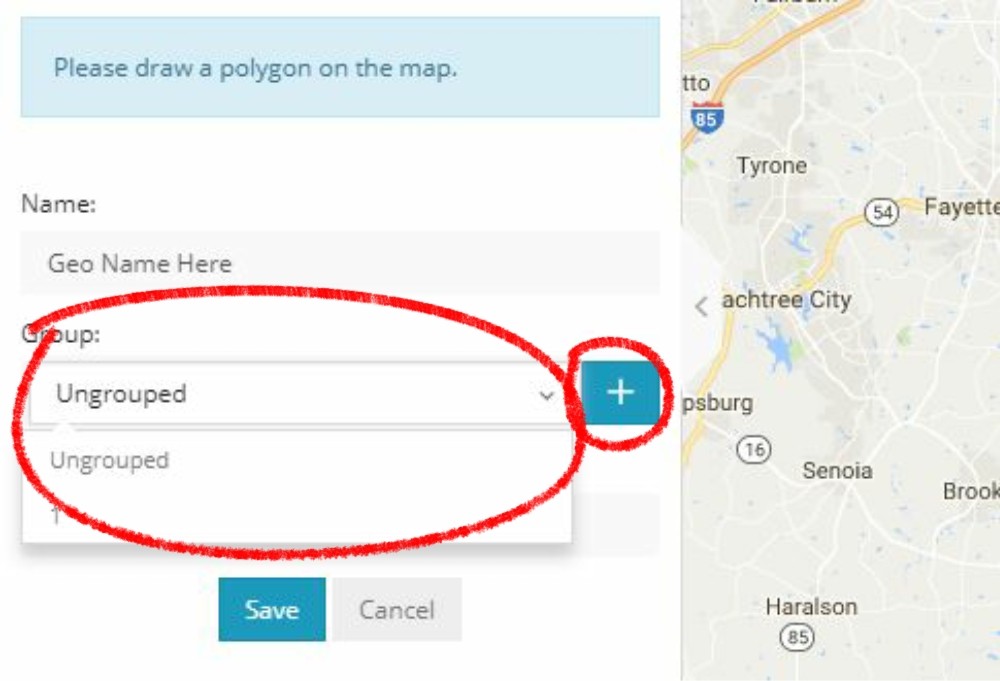
Select A Geofence Group Or Click The Plus Button To Name The Group. Then Click Save.
STEP 5
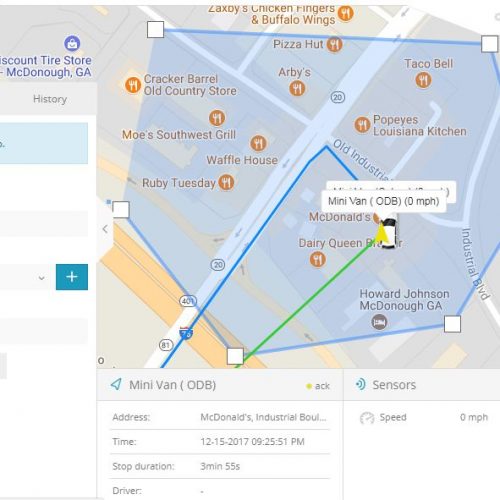
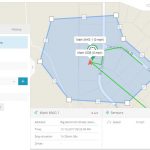
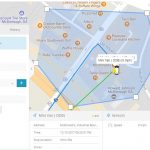
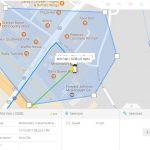
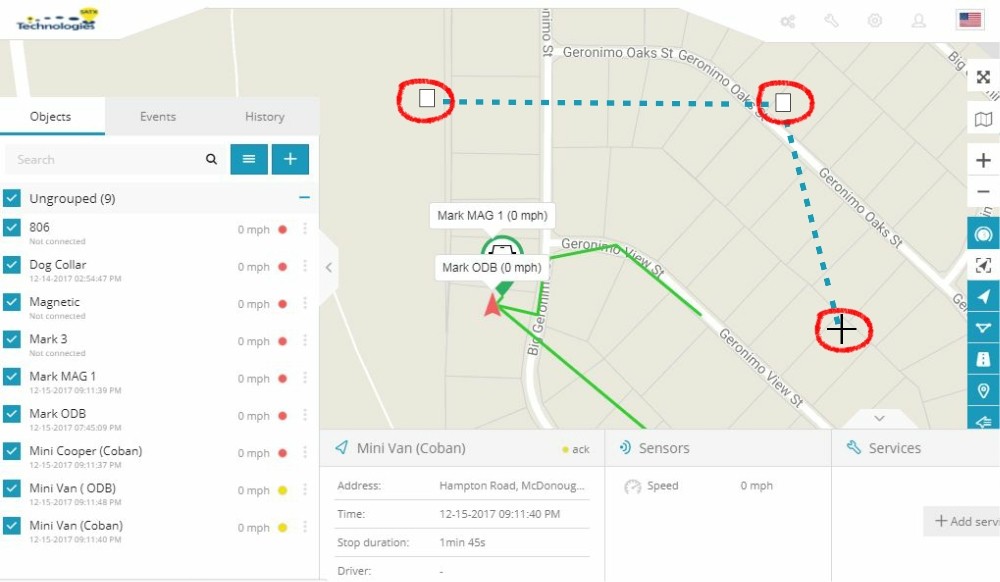
Click Each Spot On The Map To Surround Your Geofence Area, Till Your Fence Is Completely Circled.
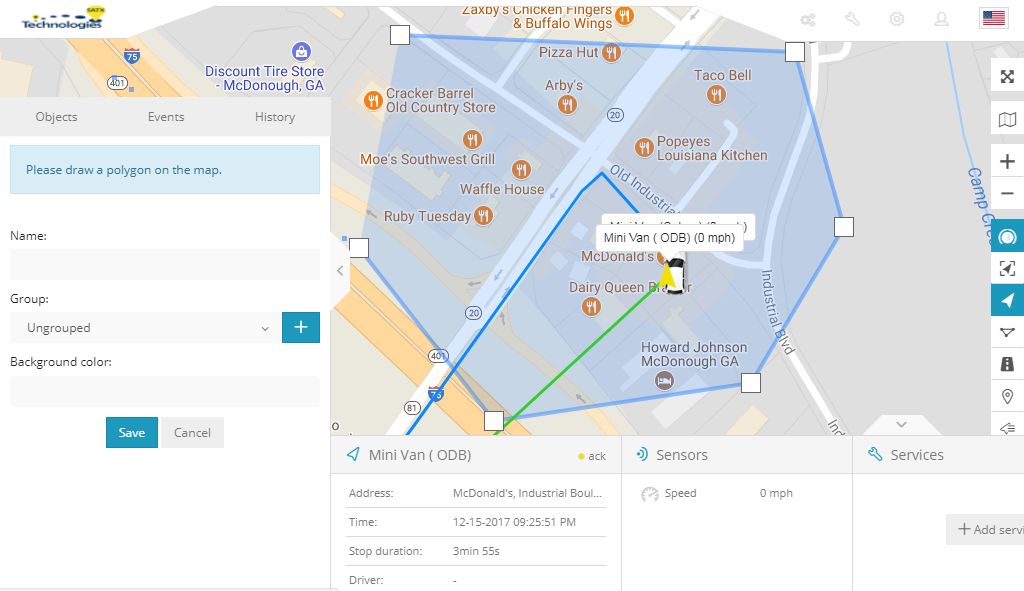
Click On The Map And Now You Have Created Your Geofence.
SCREENSHOTS
–
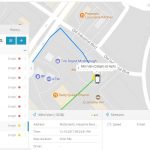
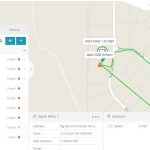
Desktop Geofence Preview
.
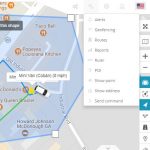
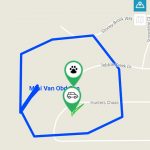
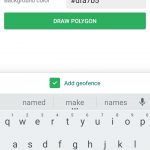
Mobile Geofence Preview
QUESTIONS OR SCHEDULE A DEMO
.


